Write and publish your blog posts with Claude or ChatGPT
Start with your notes, open a preview, and ask for changes—all from the same conversation. Use GoodSender to publish the finished post when you’re ready.
If you haven’t configured your GoodSender account yet, sign up and finish setting up your blog and sender identity first.
Then use Claude or ChatGPT to draft, preview, and publish your posts.
1. Install goodsender-blog skill
Install the GoodSender Blog skill first. Follow the official instructions for your app:
- Claude: Add and use custom skills—upload the skill ZIP through Customize → Skills.
- ChatGPT desktop: OpenAI’s skills guide—covers standalone skills and local installation, which differs from Claude’s ZIP upload.
GoodSender Blog will guide you through connecting your account when it’s time to save your draft.
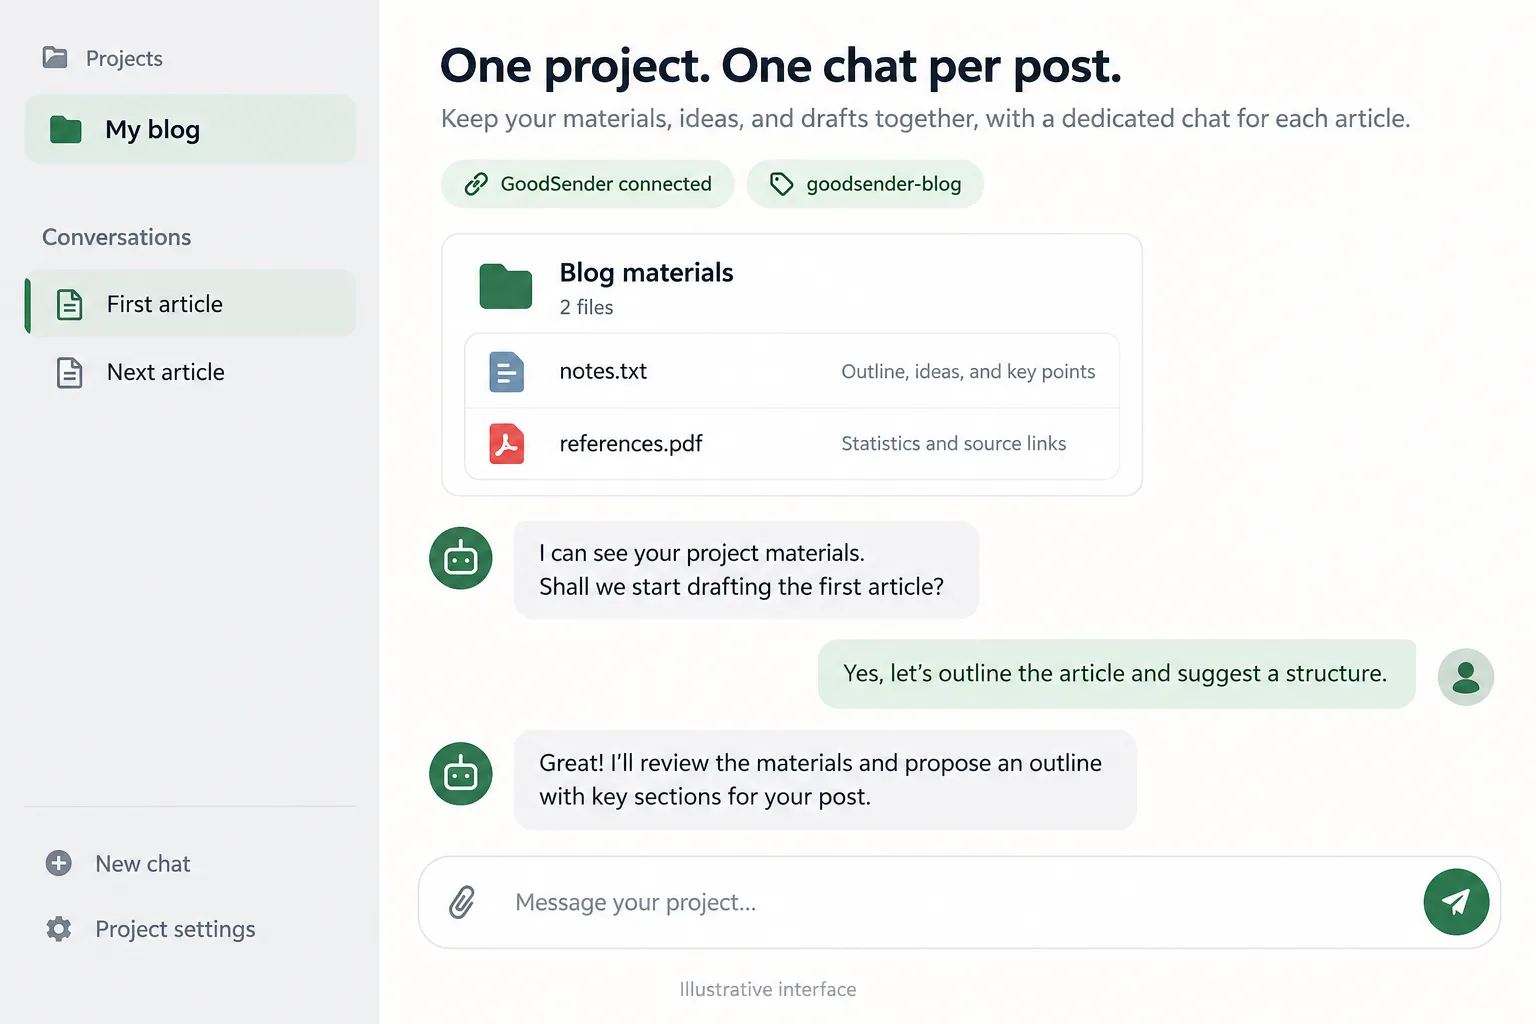
Create a project for your blog, attach your materials folder, and keep one conversation per post.
In Claude, use a Cowork project with an existing folder. In the ChatGPT desktop app, use a local project with an attached folder; an ordinary ChatGPT project uses uploaded files or connected sources instead.
For scheduled drafting, use Claude Cowork—or the newer unified Claude experience—and ChatGPT Work. Give scheduled tasks access to your notes: Claude can use connected sources or files saved to your account; ChatGPT tasks using local files need your computer and app running. Start with:
Every Monday, draft a post from my notes.
The skill won’t publish until you explicitly ask.
2. Create a draft
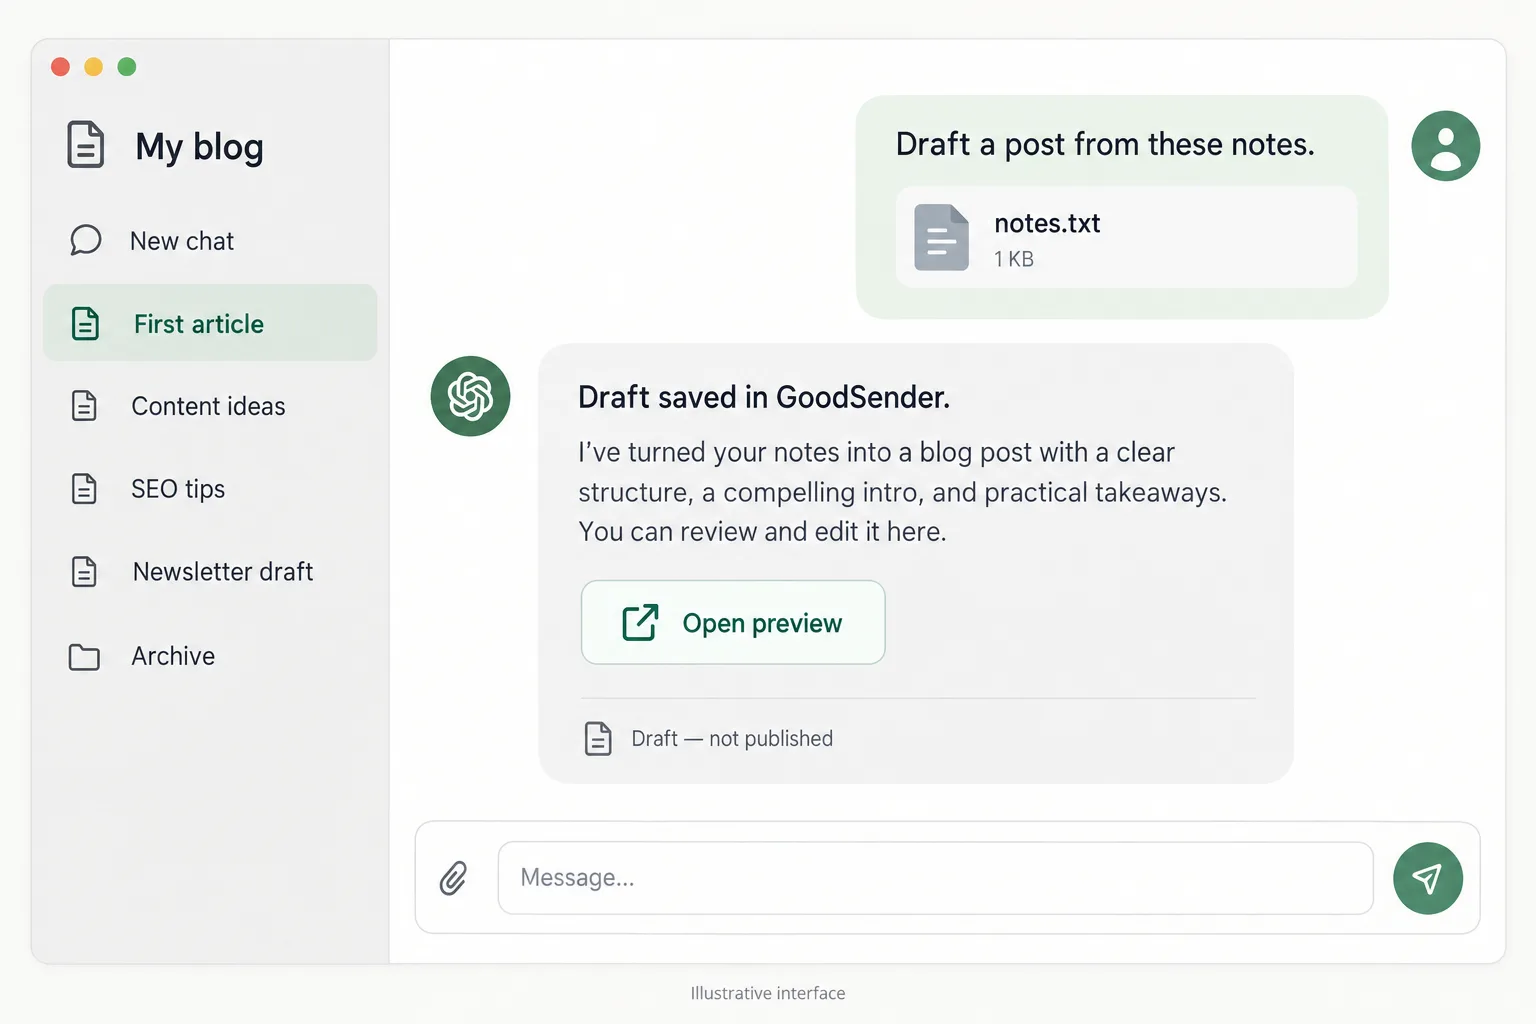
Add your notes or document to the article’s conversation:
Use GoodSender Blog to draft a post from these notes.
The skill works with your materials and asks for missing information. When the article is ready to save, it guides you through connecting GoodSender if needed, checks your blog for context, and saves the draft.
Already written it yourself? Ask:
Save this as a draft. Keep my wording.
3. Preview and refine
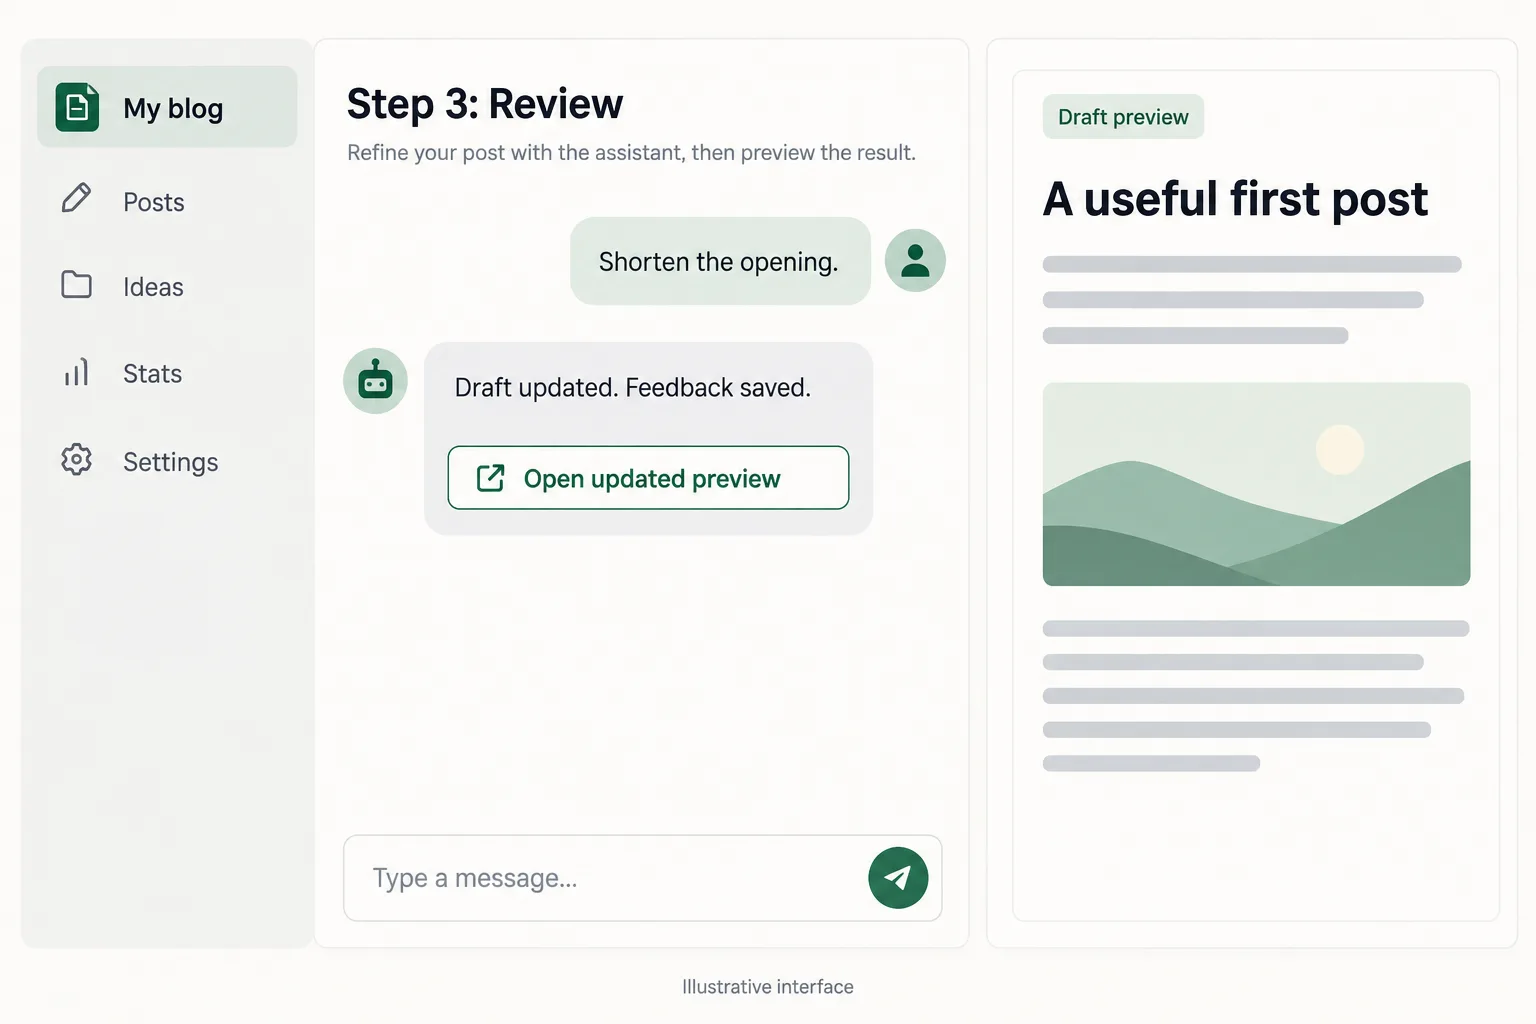
Show me the preview.
Open the link to read the post as a blog page before it goes live. Check the facts, links, and wording. If something needs changing, say so:
Shorten the opening and update the preview.
The GoodSender Blog skill learns from your feedback. It automatically keeps your remarks and adjustments in gs/feedback.md inside your working folder, then applies relevant feedback to later articles. Keep using the same folder so those lessons carry forward. The aim is fewer repeated corrections and drafts closer to your voice; it doesn’t retrain the AI model.
4. Choose where it goes
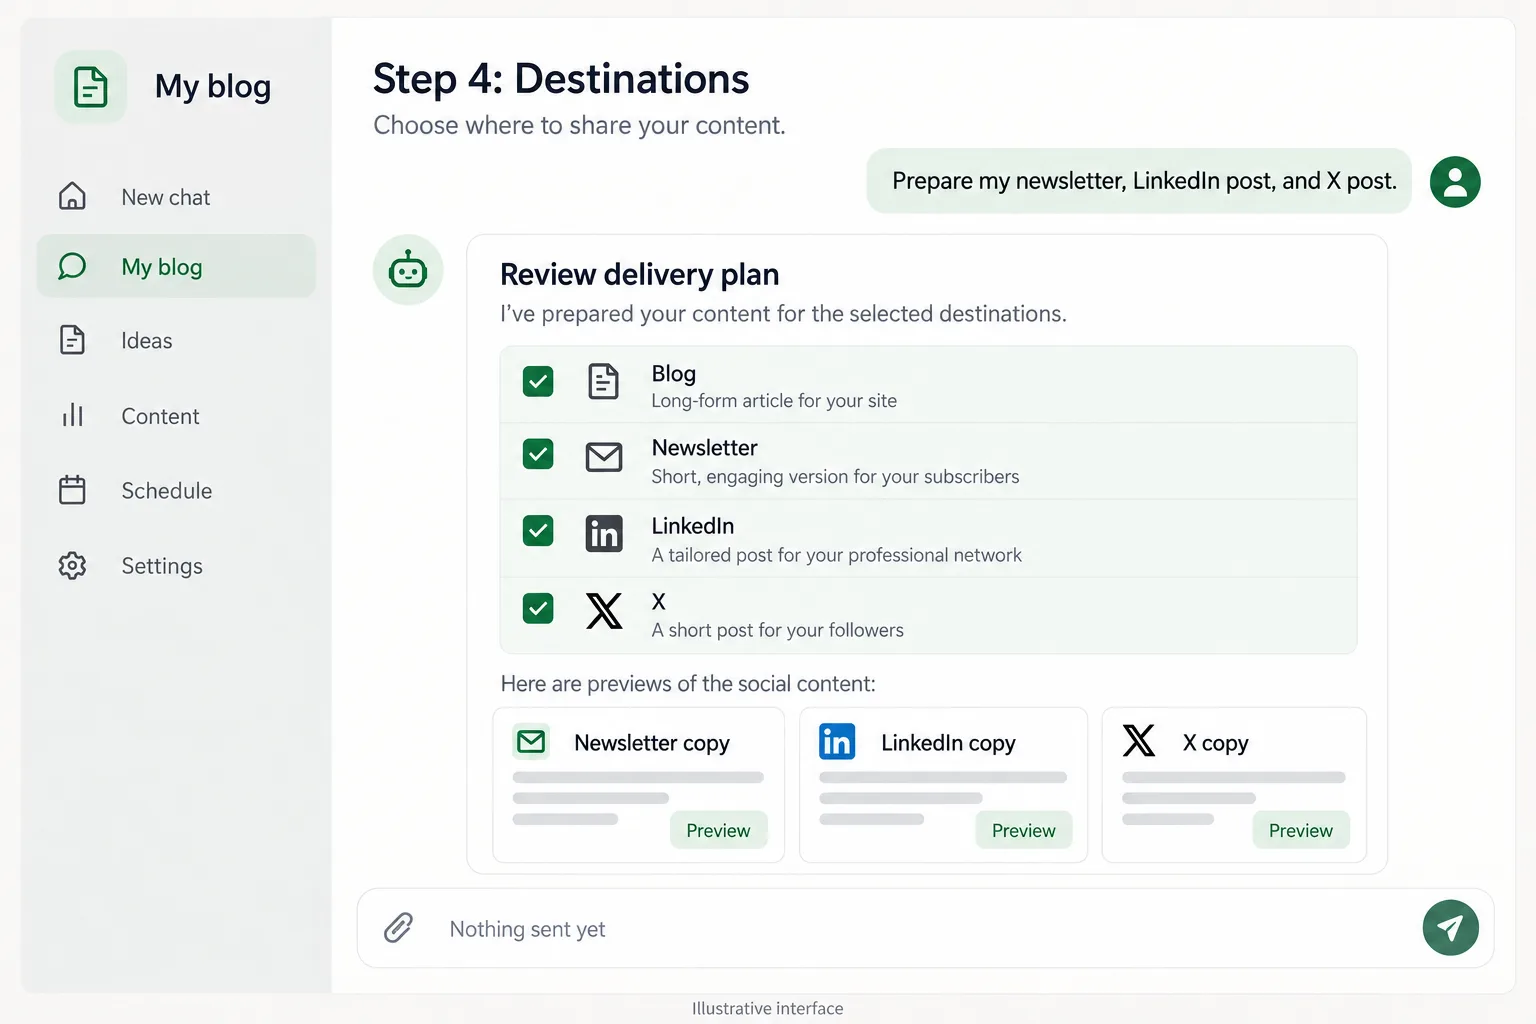
For the blog alone:
Prepare this for my blog only.
To include your newsletter and already-connected social accounts:
Prepare my newsletter, LinkedIn post, and X post.
Review the accompanying messages and destinations before sending. The blog preview shows the article, not the newsletter or social copy.
5. Publish
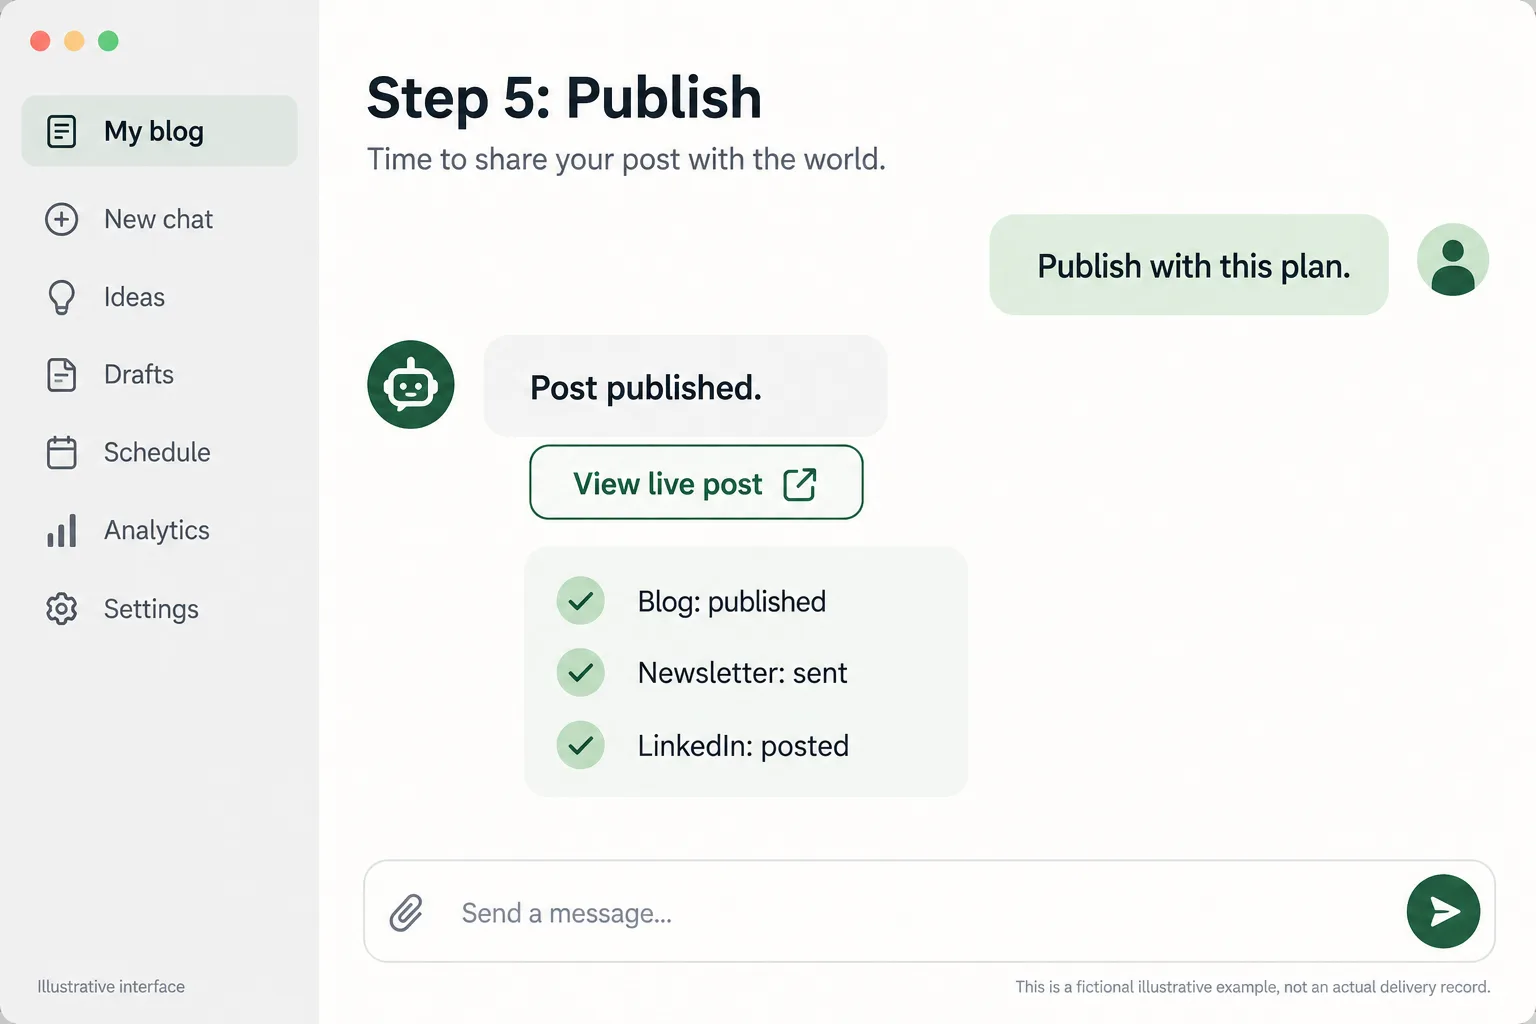
When you’re ready:
Publish with this plan.
The assistant publishes the article and starts delivery to the selected destinations, including any newsletter or social announcements. Ask for the results and open the live link to check the post.
Images are illustrative ChatGPT-style interfaces, not actual screenshots.