Publish blog posts from Claude Code and Codex with an MCP server
Your Markdown file is ready. Connect GoodSender, preview the article, prepare the announcements you want, and publish the package from the same conversation.
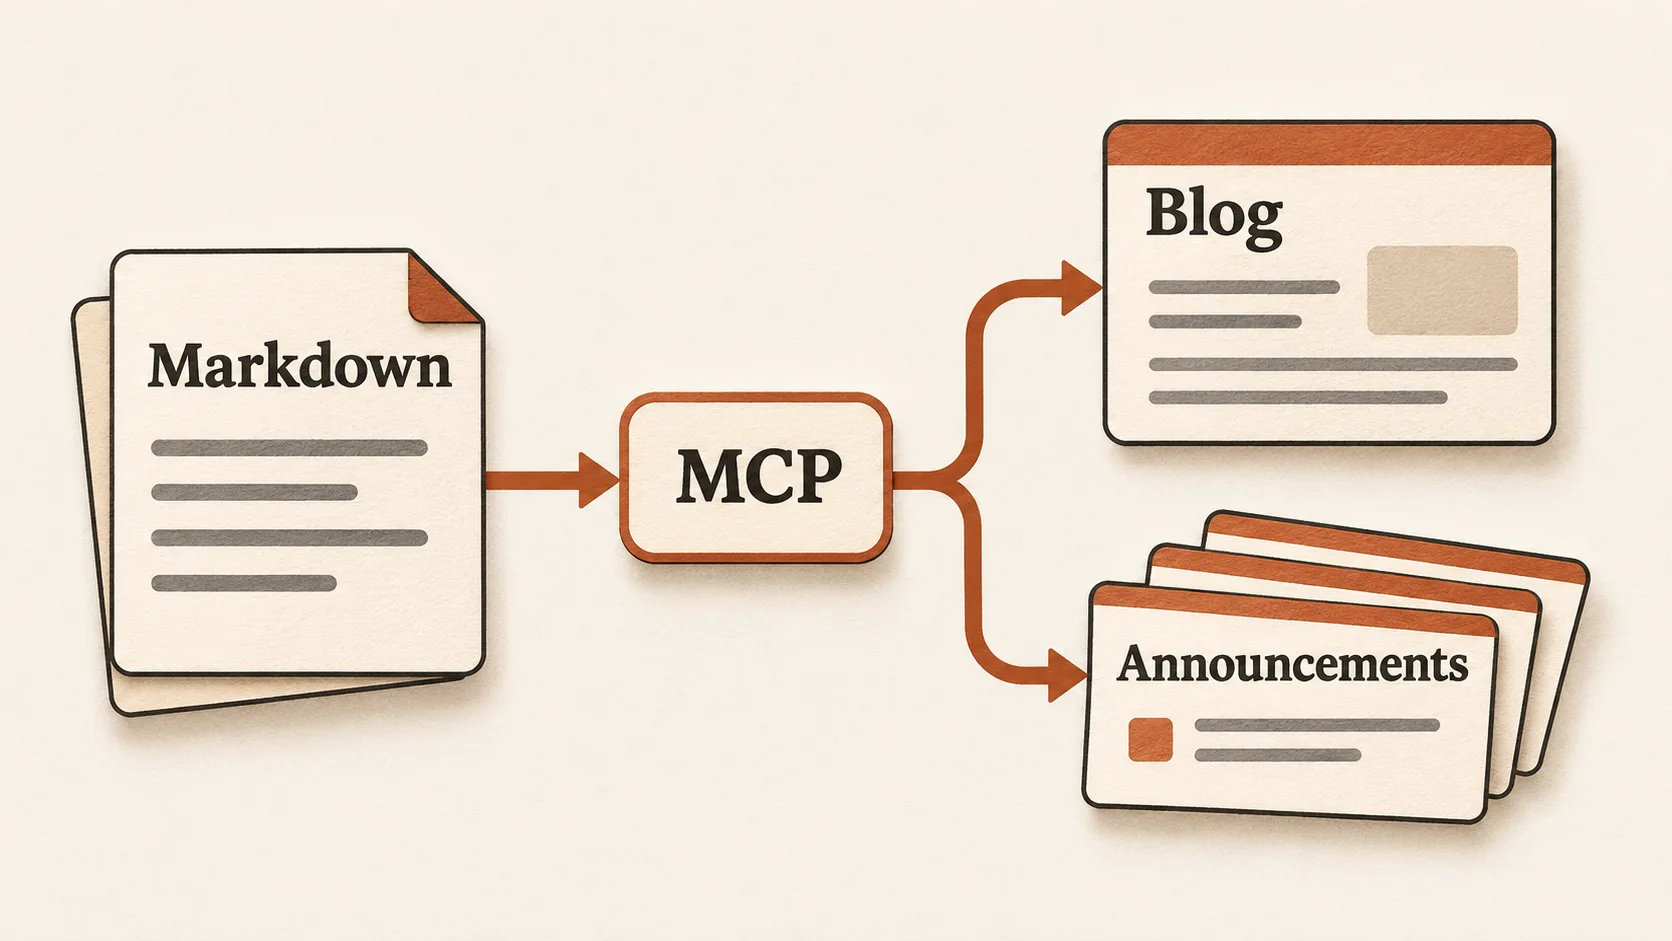
Your article is finished. It is sitting in post.md, ready for readers. You still need to put it on your blog, write the announcements, and get each version to the right place.
With GoodSender's MCP server connected to Claude Code or Codex, you can do that from the conversation where you work. Give the assistant your article, tell it where the post should go, and review the package before publishing.
The assistant writes the accompanying copy. The MCP server gives it the tools to save your article, open a preview, publish it, and deliver the announcements you choose.
1. Connect the MCP server
You need Claude Code or the Codex CLI installed, a GoodSender account with a blog set up, and your finished Markdown file in the assistant's working folder.
For Claude Code, run these commands from that folder:
claude mcp add --transport http goodsender https://mcp.goodsender.com/
claude mcp login goodsender
For Codex, run:
codex mcp add goodsender --url https://mcp.goodsender.com/
codex mcp login goodsender
Complete the browser sign-in to connect your GoodSender workspace. If Claude Code needs authentication afterward, open /mcp in its interactive session. In Codex, run codex mcp login goodsender again if the connection needs a fresh sign-in.
The GoodSender MCP connection guide covers setup and the publishing workflow.
2. Hand over the article
Open Claude Code or Codex in the folder containing your file and ask:
Save post.md as a draft on my GoodSender blog. Keep my wording
and show me a preview.
The assistant can read the file and call create_post with the article and its title. That saves a draft. create_post_preview returns a link where you can read it as a blog page.
Open the preview and check the formatting, code blocks, and links. If you want a change, ask for it in the same conversation:
Use “How we simplified our deploy script” as the title.
Leave the body as it is and update the preview.
You can keep the article exactly as written. The assistant is handling the publishing work around it.
3. Tell it which announcements to make
Connect your dev.to account and any social accounts you want to use in GoodSender. Ask the assistant to check which destinations are available, then name the destinations and the kind of copy you want:
Prepare an X announcement and a LinkedIn post.
Keep X short; use the practical takeaway for LinkedIn.
Also select dev.to for the full article. Show me the plan before publishing.
The assistant prepares a separate announcement for each platform and saves the selection through set_post_distribution.
Each destination has a different job:
| Destination | What goes there |
|---|---|
| Your GoodSender blog | The article at its public address |
| dev.to | The full article, with a canonical URL pointing to your blog |
| X, LinkedIn, Bluesky, Mastodon | The selected platform's announcement text and a link to the article |
| Newsletter, if selected | A subject, a short introduction, and a link to read the full post |
You choose which of these to include. For an email as well, ask:
Add the newsletter. Write a subject and a short introduction
that gives subscribers a reason to read the full article.
The newsletter needs a configured sender and a public blog address, and goes to subscribers who have consented. Before sending, review its subject and introduction alongside the social copy. The article preview shows the blog page; ask the assistant to show the accompanying messages too.
At this point, the delivery plan is saved and ready for your decision.
4. Publish the package
When the article, copy, and destinations look right:
Publish the article with this distribution plan.
Show me the live links and the delivery result for each destination.
The assistant calls publish_post. GoodSender publishes the blog page and starts delivery to the selected destinations: the full article to dev.to, the chosen announcements to your connected social accounts, and the newsletter if you included it.
Ask the assistant to check get_post_distribution afterward. It reports delivery status and errors for each destination. The blog can be live while an external delivery has failed, so check the results before treating the whole package as delivered.
You started with a finished article. The remaining work—saving it, preparing the messages, choosing destinations, and publishing—fits into the same conversation.
To try it with your next post, follow the MCP setup guide and bring your Markdown file.